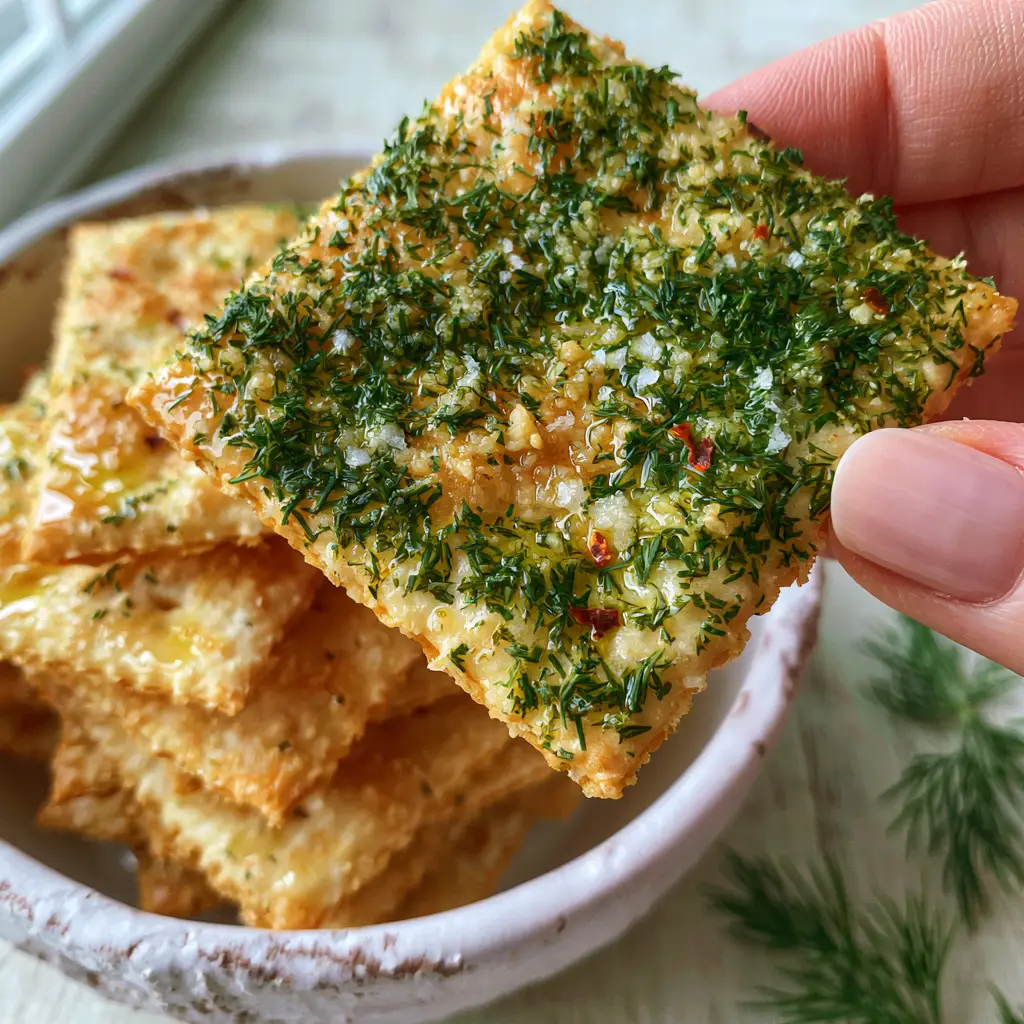
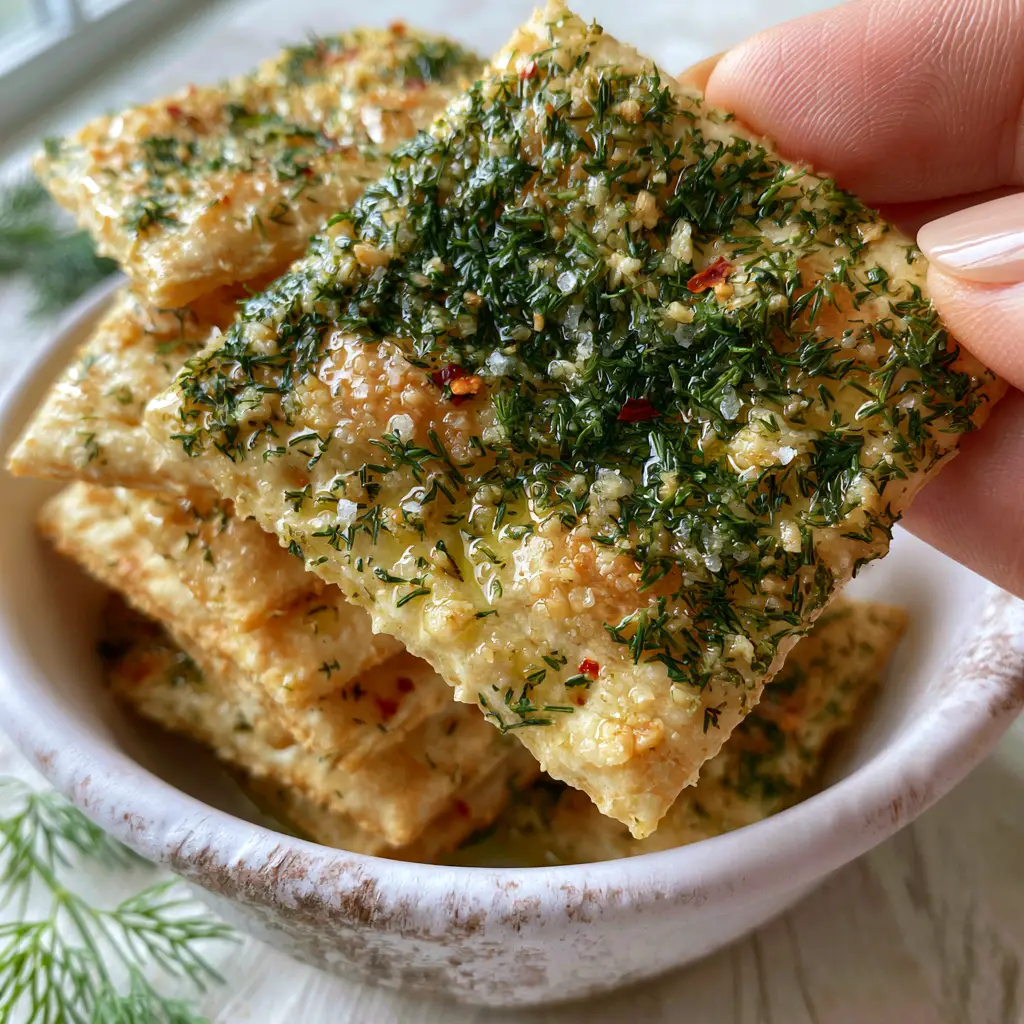
If you are searching for the perfect snack that combines a satisfying crunch with a mouth-puckering tang, these Dill Pickle Saltines are your new obsession. Inspired by the rustic, handheld charm of a perfectly seasoned appetizer, this recipe transforms the humble pantry staple into a gourmet treat. Imagine a stack of golden-brown crackers, each glistening with a savory oil infusion and coated in a vibrant layer of herbs and spices.
Every bite of these Dill Pickle Saltines delivers a sensory explosion. You get the initial snap of the toasted cracker, followed by the punch of dried dill, the sharp bite of granulated garlic, and a lingering, gentle heat from crushed red pepper flakes. Whether you are hosting a summer cookout or looking for a late-night snack, this recipe hits every high note of flavor and texture.
In this guide, we will dive deep into the culinary science of seasoning adhesion and the thermal process required to achieve that specific golden glisten. We have meticulously designed this recipe to match the “organic food styling” seen in high-end culinary photography, ensuring your snacks look as incredible as they taste.
Why You Will Crave These Glistening Seasoned Crackers
- The Perfect Texture: A low-temperature toast ensures a deep golden-brown color without burning the delicate dried herbs.
- High-Definition Flavor: The combination of onion powder, granulated garlic, and coarse sea salt creates a complex savory profile that mimics a high-quality dill pickle brine.
- Visual Appeal: The contrast between the bright green dried dill weed and the tiny pops of red pepper flakes makes these crackers a centerpiece-worthy appetizer.
- Versatile Pairing: These crackers are the ideal companion for creamy cold chip dip recipes or as a crunchy side for hearty soups.
The Essential Components for Dill Pickle Saltines
Creating the perfect Dill Pickle Saltines requires a balance of fats and dry aromatics. The “invisible” foundational ingredients are just as important as the visible seasonings to ensure the flavor sticks to every square inch of the cracker.
Premium Saltine Crackers: Use standard square saltines. Their porous surface is designed to soak up the seasoned oil, creating a flavor-burst in every bite.
Neutral Vegetable or Canola Oil: You need 1/2 cup (120ml) of oil to act as the vehicle for the spices. A neutral oil allows the dill and garlic to shine without adding competing flavors.
Dried Dill Weed: Use 2 tablespoons (6g) of dried dill. Unlike fresh dill, dried dill provides a concentrated, earthy flavor that adheres better to the cracker surface during the toasting process.
Granulated Garlic and Onion Powder: These provide the “umami” backbone. Use 1 teaspoon (5g) of each to ensure a consistent, savory coating that isn’t as harsh as fresh aromatics.
Coarse Sea Salt Crystals: Unlike table salt, 1/2 teaspoon (3g) of coarse sea salt adds a visual sparkle and a distinct mineral crunch that complements the vinegar-like tang of the dill.
Crushed Red Pepper Flakes: Just 1/2 teaspoon (1g) provides the “pop of color” and a subtle warmth that balances the acidity of the dill flavor profile.
Fresh Dill Sprigs: Used exclusively for garnish, these add a bright green freshness and a floral aroma just before serving, mimicking the “organic food styling” of professional photography.
Must-Have Kitchen Tools for Culinary Precision
To achieve the professional results seen in our visual blueprint, you will need a few basic tools. A large, gallon-sized airtight bag or a very large mixing bowl is essential for tossing the crackers without breaking them. You will also need a large rimmed baking sheet (half-sheet pan) to spread the crackers in a single layer, ensuring even heat distribution.
A silicone spatula is helpful for gently folding the crackers in the oil mixture. Finally, a wire cooling rack placed over a sheet of parchment paper will help the Dill Pickle Saltines set their glistening coating without becoming greasy or soggy.
Step-by-Step Evolution of the Perfect Seasoned Snack
Infusing the Seasoning Matrix
In a small glass measuring cup or bowl, whisk together the 1/2 cup (120ml) of neutral oil, 2 tablespoons (6g) of dried dill weed, 1 teaspoon (5g) granulated garlic, 1 teaspoon (5g) onion powder, and 1/2 teaspoon (1g) red pepper flakes. Whisk vigorously until the spices are evenly suspended in the oil.
Allow the mixture to sit for at least 10 minutes. This “blooming” phase allows the oil-soluble compounds in the dried herbs and garlic to activate, ensuring a more potent flavor when applied to the Dill Pickle Saltines.
The Coating Technique
Place two sleeves (approximately 80 crackers) of saltines into a large container or heavy-duty zip-top bag. Slowly pour the oil mixture over the crackers. If using a bag, seal it with plenty of air inside and gently tumble the bag, rotating it every few minutes.
If using a bowl, use a very light hand with your spatula. You want to see a heavy, glistening coating of bright green dried dill and garlic on every cracker. Let them marinate for 20 minutes, turning occasionally so the oil penetrates the crackers’ centers.
Toasting for Golden-Brown Perfection
Preheat your oven to 250°F (120°C). Arrange the Dill Pickle Saltines in a single, tight layer on your baking sheet. Do not overlap them, as this prevents the edges from getting that signature toasted color.
Bake for 15-20 minutes. You are looking for a specific visual cue: the oil should no longer look “wet,” but rather like a subtle, permanent glisten. The crackers should shift from pale white to a light golden-brown toasted color. The aroma of toasted garlic and dill should fill your kitchen.
Expert Tips for Success with Seasoned Crackers
- Control the Moisture: Never use fresh dill in the baking process; the moisture content will turn the crackers soggy. Save the fresh sprigs for the final garnish.
- Low and Slow: Resist the urge to turn up the heat. High temperatures will burn the garlic and dill, turning them bitter rather than savory.
- The Cooling Phase: Allow the Dill Pickle Saltines to cool completely on the baking sheet. This “sets” the seasoning and ensures the maximum possible crunch.
- Batch Consistency: If making a double batch, use two separate baking sheets rather than crowding one. Airflow is the key to the perfect snap.
Optimal Storage and Shelf Life
Dill Pickle Saltines are remarkably shelf-stable. Once completely cooled, store them in an airtight glass jar or container. They will remain crispy and flavorful for up to two weeks at room temperature.
Do not refrigerate these crackers, as the humidity in the fridge will cause them to lose their snap. If they do soften slightly due to humidity, you can refresh them by placing them in a 250°F (120°C) oven for 5 minutes.
What to Serve With This Zesty Snack
These crackers are incredibly versatile. They are the perfect crunchy element to serve alongside a fresh peach and feta salad for a balance of sweet and salty. The tang of the dill also pairs beautifully with Asian-inspired dishes, providing a unique crunch next to a sesame noodle salad.
For a complete party spread, serve them with a variety of dips. They hold up well to thick spreads and are a fantastic alternative to plain chips when serving zesty shrimp salads.
Frequently Asked Questions
It is not recommended to use fresh dill for the coating as its high moisture content will make the crackers soggy during the baking process. Dried dill provides a more concentrated flavor and a better visual texture.
To increase the heat, simply double the amount of crushed red pepper flakes or add 1/4 teaspoon of cayenne pepper to the oil mixture before tossing.
Store them in an airtight glass jar or plastic container at room temperature. Avoid refrigeration, as humidity will cause the crackers to lose their signature snap.
If the crackers look oily, they may need a few more minutes in the oven or longer to cool. The low-temperature bake helps the oil absorb into the cracker, leaving a beautiful glisten rather than a greasy residue.
The Definitive Dill Pickle Saltines Recipe
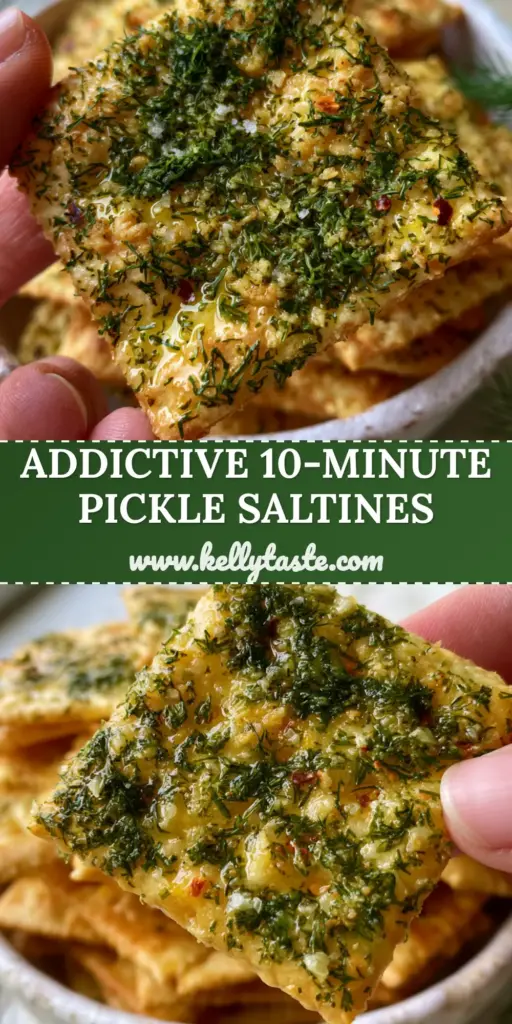
Dill Pickle Saltines: The Ultimate Zesty and Crunchy Snack Recipe
Ingredients
Equipment
Method
- In a small bowl, whisk together the vegetable oil, dried dill weed, granulated garlic, onion powder, sea salt, and red pepper flakes until well combined.
- Place saltines in a large bag or bowl. Pour the oil mixture over them and gently toss until every cracker has a heavy, glistening coating of herbs.
- Let the crackers sit for 20 minutes to allow the flavors to penetrate the surface.
- Preheat oven to 250°F (120°C). Arrange crackers in a single layer on a baking sheet and bake for 15-20 minutes until golden-brown and glistening.
- Allow to cool completely to set the crunch. Garnish with fresh dill sprigs before serving.
Notes
Use dried dill for the coating to ensure it sticks properly during baking.
Join the Community and Share Your Creations
We hope you enjoy the addictive crunch and bold flavors of these Dill Pickle Saltines. They are a testament to how simple ingredients, when treated with the right culinary techniques, can become something truly extraordinary. Whether you followed the recipe to the letter or added your own spicy twist, we want to hear about it!
Leave a comment below to let us know how your batch turned out, or head over to Pinterest to save this recipe for your next gathering. Don’t forget to tag us in your photos—seeing your glistening, golden-brown crackers makes our day!